High school scrapbook
Missing those memories from high school . A scrapbook of high school is one thing that can help with that is not hard to create.
High school for most seems to fly by fast and losing those memories are a fear for most. This D.I.Y. tutorial can help students personalize and keep close a scrapbook of their own. There are different types of photo albums and picking out the right kind is the first step. Being creative can be a challenge for some, so a simple photo album will do.
A photo album consists of pages with sleeves where photos can be placed and a side space for writing comments. If being creative is not hard, a blank scrapbook is right for this tutorial.
The first thing to do before starting is to make sure you have all the photos. The second step is purchasing a scrapbook, they range in price. But most can be found in places like Walmart, Hobby Lobby, Michaels and other retailers. Next thing needed is to purchase a book of scrapbook—paper, make sure that it is the correct size and glue spots or squares. Also purchase any decorations like stickers, glitter, stamps or anything that make the pages pop; just remember they all go under the clear sleeve inside the scrapbook.
Once all the materials are gathered, placing them all out of the floor can help with organization when creating the scrapbook. With the pictures printed, lay them out corresponding to the school year from freshman to senior year. Then, create a theme for the first page; this could be sports, freshman memories the between years.
For the page layout fit as many pictures as possible and remember there is always the option to cut down pictures. After the photos are chosen, pick a full background page, this is going to be a page with a pattern out of the paper book. The main page for the background is a design rather than a solid color. Solid colors are often used as borders for the pictures.
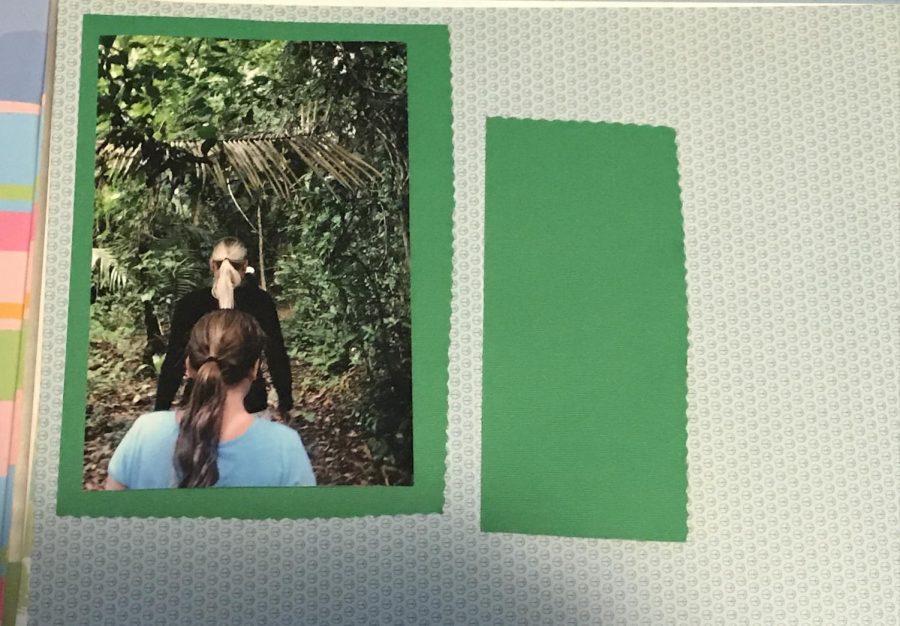
After selecting a background paper start to laying the pictures how they will fit, but this is more for show so space out the pictures. When the photos are placed, pick out the boarders: these are often going to be solid colors. When a design paper is put on top of another design paper for the photos boarding it can be disorienting from the eye.
After, put four glue dots on the back of the boarders and place them on the spot chosen for the pictures. Then do the same for the pictures just on top of the borders.
Once the photos are in place take the empty space and decorate it with corresponding stickers, sayings or things remembered about the photo. After, if anything extra would make it more personal can be placed, such as: concert tickets, homecoming tickets, amusement park wristbands or anything relevant to the photos. Having something from the photo makes it more interactive and personal.
Do the same things for the other pages, you can use multiple pages for the same year. When high school is completed there will be a nice scrapbook or photo album there to remember the years past.
School is a time for memories and a time to celebrate friends and good memories. Remembering the good times of high school in a creative and personal way is definitely a more memorable experience.
Your donation will support the student journalists of Eisenhower High School. Your contribution will allow us to purchase equipment and cover our annual website hosting costs.