Budget Halloween
Halloween doesn’t cost a fortune, these budget friendly decorations will help save even those few dollars. All the materials needed in the D.I.Y. projects can be purchased at a dollar store or craft store.
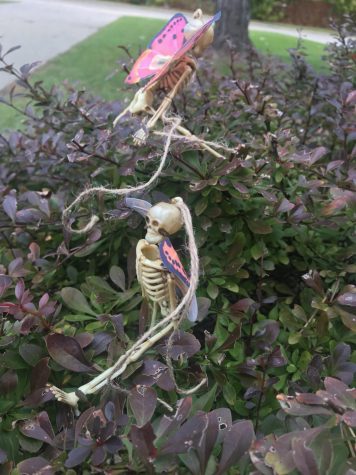
Butterfly skeletons
Materials needed:
- 3 to 4 inch plastic skeletons
- 1 inch fake butterflies
- Hot glue gun
- Scissors
Step 1: unpackage skeletons
Step 2: use scissors to cut the wings off butterflies from base of wings
Step 3: hot glue wings onto spines of skeletons
Step 4: with string hang to decorate
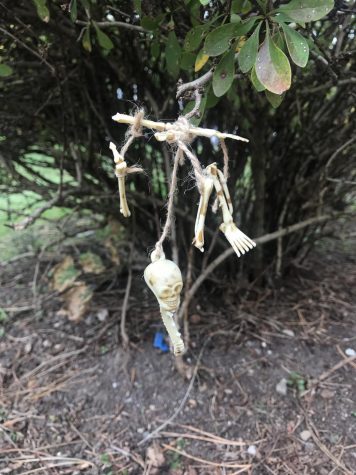
Bone wind chime
Materials needed:
- Plastic skull and bones
- Black or brown twine
- Scissors
- yarn or large eyed needle
Step 1: organize bones from smallest to largest.
Step 2: take the two second largest bones and cross them.
Step 3: thread needle with twine.
Step 4: where the bones cross make a hole completely through and pull twine through but leave extra for hanging up the chime.
Step 5: tie a knot below cross and leave a long piece of twine below for hanging the skull.
Step 6: using the needle, poke holes in the four ends of the bone.
Step 7: string twine through the four holes and tie knots at end so twine is solid.
Step 8: taking the second two biggest bones, poke holes through bones and hang; tie knots at ends as desired with already hanging twine.
Step 9: using bigger bones, poke holes and hang smaller bones as desired.
Step 10: poke hole through center of skull with needle and using the long twine in the center, thread twine through hole.
Step 11: tie a loop with twine above crossed bones for hanging and hang.
Ghost ice hand
Materials needed:
- Water
- Scissors or knife
- Elastic glove
Step 1: fill elastic glove with water until there is just enough room to tie.
Step 2: tie elastic glove like a water balloon.
Step 3: leave glove in a freezer for 24 hours.
Step 4: when frozen, use scissors or a knife to cut open and remove the elastic from the frozen hand.
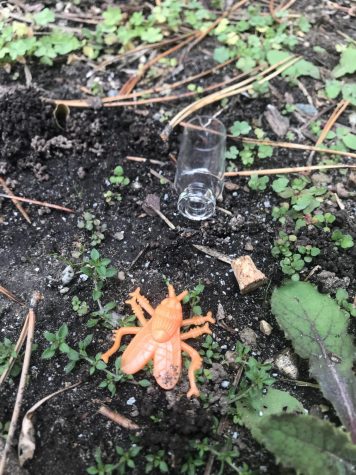
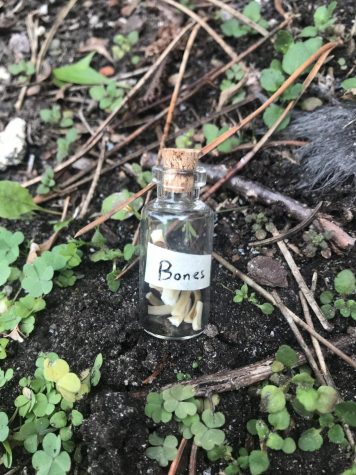
Specimen jars
Materials needed:
- Plastic bugs and critters
- Colorful soap
- Jars/unusual containers
- Labels and a marker
Step 1: make sure jars are clean.
Step 2: unpackage critters and pick and place inside the jars.
Step 3: using soap, fully submerge the critters.
Step 4: use the marker and labels to label critters on jar.
Potion bottles
Materials needed:
- Pill bottles
- Black and white paint
- Small sponge brush
- Hot glue
Step 1: wash label off bottle with hot water.
Step 2: dry bottle and make sure no residue is present.
Step 3: use hot glue to write a potion name, like love potion, on the side of the bottle.
Step 4: after it dries, use black paint and sponge brush to paint the bottle black.
Step 5: after the paint dries, use white for accents and decoration.
Your donation will support the student journalists of Eisenhower High School. Your contribution will allow us to purchase equipment and cover our annual website hosting costs.

